Configure permissions for a namespace#
This page contains instructions for RBAC configuration within a namespace of a team cluster using Lens Desktop.
To grant permissions for a team or particular users, you need to create the following RBAC API objects:
-
RoleAPI object that sets permissions within a particular namespace.
-
RoleBindingAPI object that grants the permissions defined in a role to a user or a set of users. A
RoleBindingcan contain users, groups (teams), and service accounts.
For details about RBAC customization, see Roles and permissions in Lens Teamwork.
Prerequisites#
Before configuring permissions for a namespace, check the following list of prerequisites:
- Make sure that you are a Lens Pro or Lens Enterprise subscription user. See Lens Pricing for details.
- For Lens Enterprise subscription users: check that the Lens Teamwork feature is enabled by your LBID administrator.
- Make sure that you have at least the Admin role on your team cluster, or you have a set of permissions allowing you creating Kubernetes cluster objects within the namespace.
Create Role#
- From the team space cluster, navigate to Access Control > Role Bindings and click Create new RoleBinding in the bottom-left corner.
- In the dialog menu, fill the required fields and click Done.
- In the details panel, click Edit to open the template editor.
- In the template editor, specify the namespace and a set of permissions for the namespace.
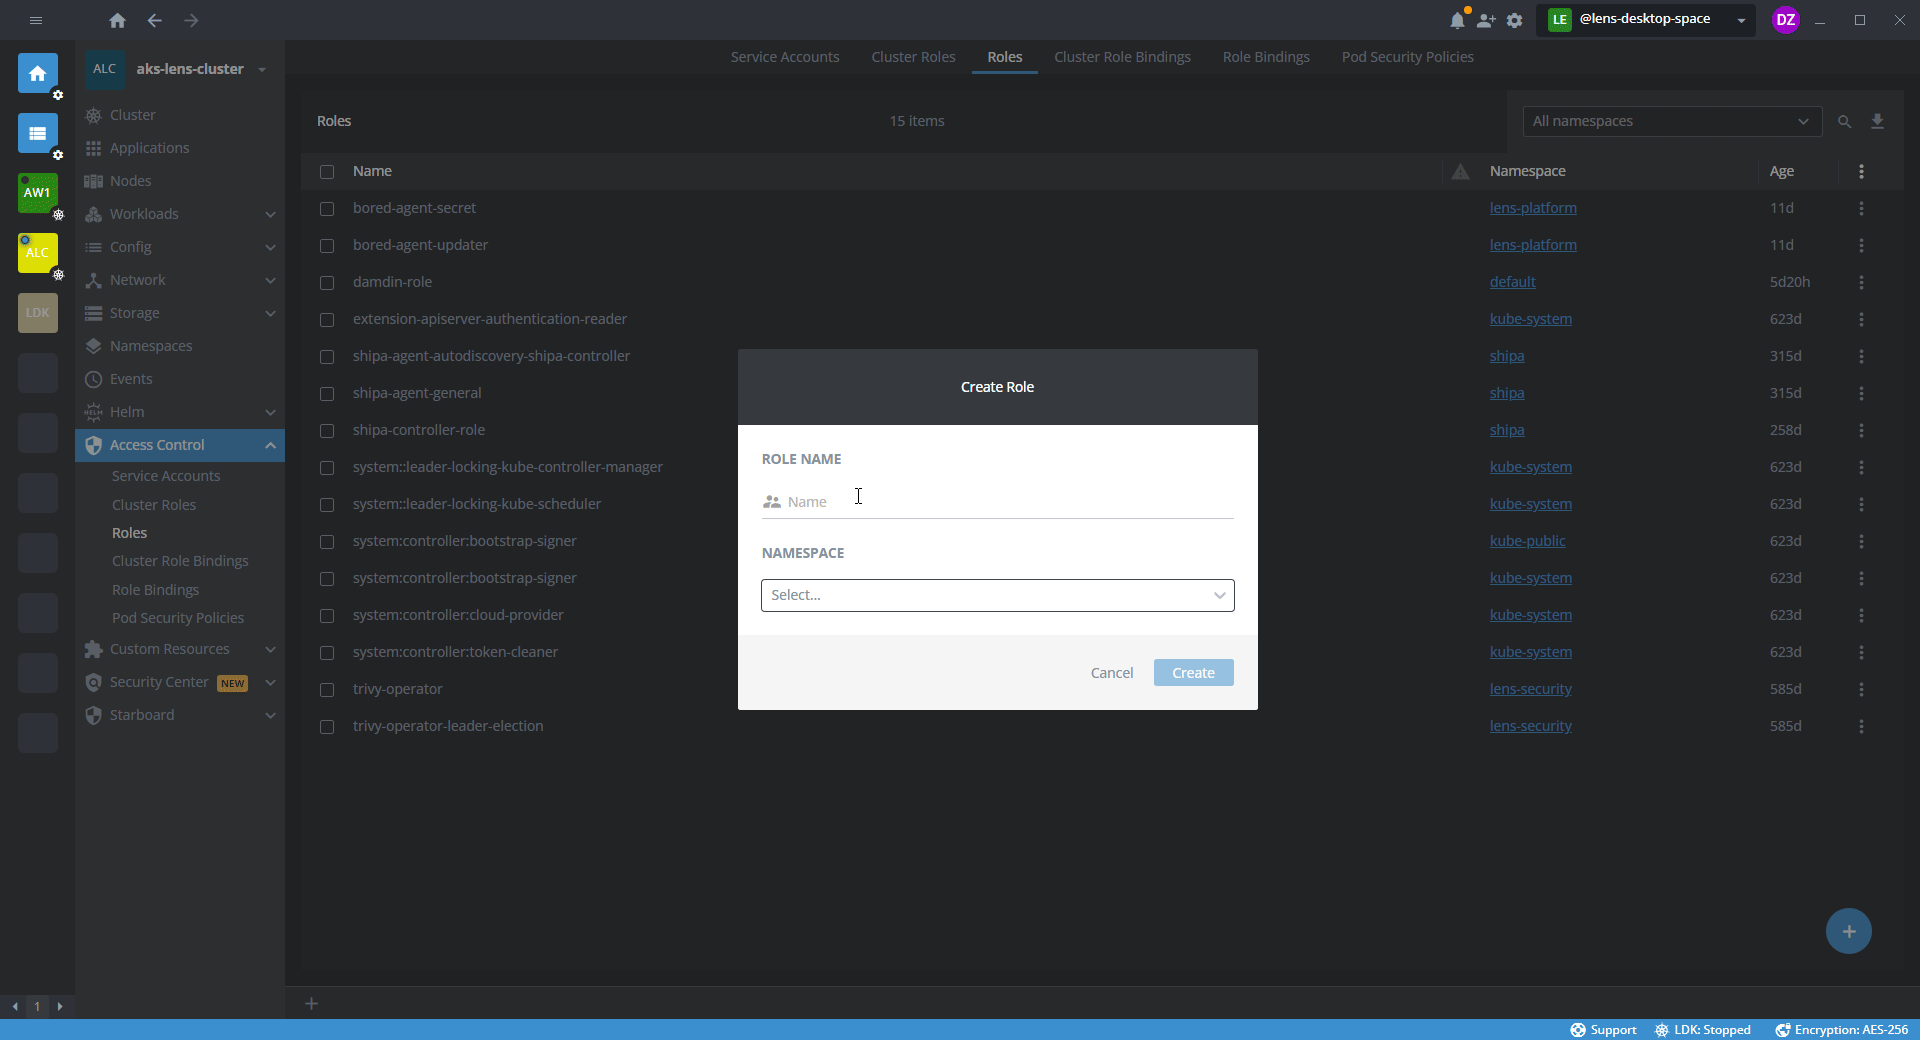
- In the team space, navigate to the team space cluster.
- In the Bottom Bar, click New tab > Create resource.
- In the following Select Template list, select Role.
- In the template editor, specify the namespace and a set of permissions for the namespace.
The following template example shows a configuration that sets permissions for pods within the default namespace.
apiVersion: rbac.authorization.k8s.io/v1
kind: Role
metadata:
  namespace: default
  name: <role-name>
rules:
- apiGroups: [""] # "" indicates the core API group
  resources: ["pods"]
  verbs: ["get", "watch", "list", "create", "update", "patch", "delete"]
In the verbs field, specify the API request verbs . These verbs define actions that users can perform with cluster resources.
| HTTP verb | Request verb | Comment |
|---|---|---|
POST |
create |
Enables creating a resource |
GET, HEAD |
|
Return full details of a resource, they are equivalent in terms of access to the returned data |
PUT |
update |
Updates a resource by replacing it |
PATCH |
patch |
Applies partial modifications to a resource |
DELETE |
|
Remove a resource |
Create RoleBinding#
- In the team space, navigate to the team space cluster.
- Navigate to Access Control > Role Bindings and click Create new RoleBinding in the bottom-left corner.
-
In the Add RoleBinding dialog, fill the required fields:
Field Comment Namespace Specify the namespace. Type or select from the drop-down list. Role Reference Associate the RoleBinding with the role. Make sure that the role exists in the specified namespace. Binding Name Type the name of the RoleBinding. Users Associate one or several users with this RoleBinding. For each user, type a username and press Enter. Groups Associate one or several groups of users (teams) with this RoleBinding. When typing the team name, keep the mandatory syntax: lens-spaces:<name-of-the-team>. To specify the next team, press Enter.Service Accounts Associate one or several service accounts with this RoleBinding. Select from the drop-down list.
You can create a RoleBinding through the built-in template:
- In the team space, navigate to the team space cluster.
- In the Bottom Bar, click New tab > Create resource.
- In Select Template, select RoleBinding.
Refer to the following RoleBinding configuration example:
The following template example shows a configuration that grants permissions defined in a role to a set of subjects (a user, a user group, and a service account). RoleBinding grants permissions within the default namespace as the corresponding Role.
apiVersion: rbac.authorization.k8s.io/v1

kind: RoleBinding
metadata:
  name: <RoleBinding-name>
  namespace: default
subjects:
# Specify one or several subjects (users, groups, or service accounts) in this field
  - kind: User
    name: <username> # This field is case-sensitive
    apiGroup: rbac.authorization.k8s.io
  - kind: Group
    name: lens-spaces:<team-space-name> # This field is case-sensitive, the prefix `lens-spaces` is obligatory for specifying the team space
    apiGroup: rbac.authorization.k8s.io
  - kind: ServiceAccount
    name: <service-account-name> # This field is case-sensitive
    apiGroup: rbac.authorization.k8s.io
roleRef:
# Associate the RoleBinding with a Role or a ClusterRole in this field
  kind: Role # This field can have only two values: `Role` or `ClusterRole`
  name: <cluster-role-name> # Specify the name of the Role or the ClusterRole you need
  apiGroup: rbac.authorization.k8s.io